30 DIY Party Backdrop Ideas
Planning a party can be both exciting and overwhelming.
One of the best ways to set the tone for your celebration is through stunning DIY party backdrop ideas.
Not only does it serve as a fantastic photo op, but it also ties together your party theme beautifully.
If you’ve been considering a DIY approach to your party backdrops, you’re in the right place!
Let’s explore why creating your own diy party backdrop is a great idea and how it can elevate your event.
Unique Touch
When you create your own party backdrop, you get to inject your personality and style into the event.
Whether it’s a birthday bash, a bridal shower, or a baby celebration, your backdrop will reflect the theme in a way that no store-bought option can.
Your guests will appreciate the unique touch and the effort you’ve put into making the event special.
Tailored Themes
Are you a fan of specific color schemes or unique themes?
DIY backdrops allow you to tailor every detail to your liking.
From rustic chic to tropical paradise, you have the creative freedom to bring your vision to life without being limited by what’s available in stores.
Budget-Friendly
One of the most significant advantages of DIY projects is cost savings.
High-quality party backdrops can be expensive, but making your own allows you to achieve a similar look for a fraction of the price.
With a bit of creativity and some affordable materials, you can create a stunning backdrop without breaking the bank.
How to Create Your Own DIY Party Backdrop
Step 1: Choose Your Theme
Before you start, decide on the theme of your party.
This will guide your choice of colors, materials, and overall design.
Whether it’s a whimsical fairy tale or a sleek modern aesthetic, having a clear vision will make the process smoother.
Step 2: Gather Materials
Based on your theme, gather all the materials you’ll need.
Some popular options include:
- Fabric (cotton, tulle, or burlap)
- Paper Flowers (various sizes and colors)
- String Lights (for a magical touch)
- Balloons (create garlands or arches)
- Streamers (add movement and texture)
- Foam Boards (for creating custom shapes and letters)
Step 3: Plan Your Layout
Before you start assembling, plan out your backdrop layout.
This will help you visualize the final product and make any adjustments before committing to the design.
Use a large table or clean floor space to lay out your materials.
Step 4: Assemble Your Backdrop
Now comes the fun part—assembling your backdrop!
Start with the larger elements and fill in with smaller details.
Don’t be afraid to experiment and move things around until you’re happy with the look.
Step 5: Secure Your Backdrop
Ensure your backdrop is securely fastened, especially if it’s going to be hung or propped up outdoors.
Use sturdy tape, clamps, or even a backdrop stand to keep everything in place.
(This post contains affiliate links. If you purchase a product or service with the links that I provide I may receive a small commission. There is no additional charge to you! Some of the amazing following photos are not my own, click on them to head straight to the source!)
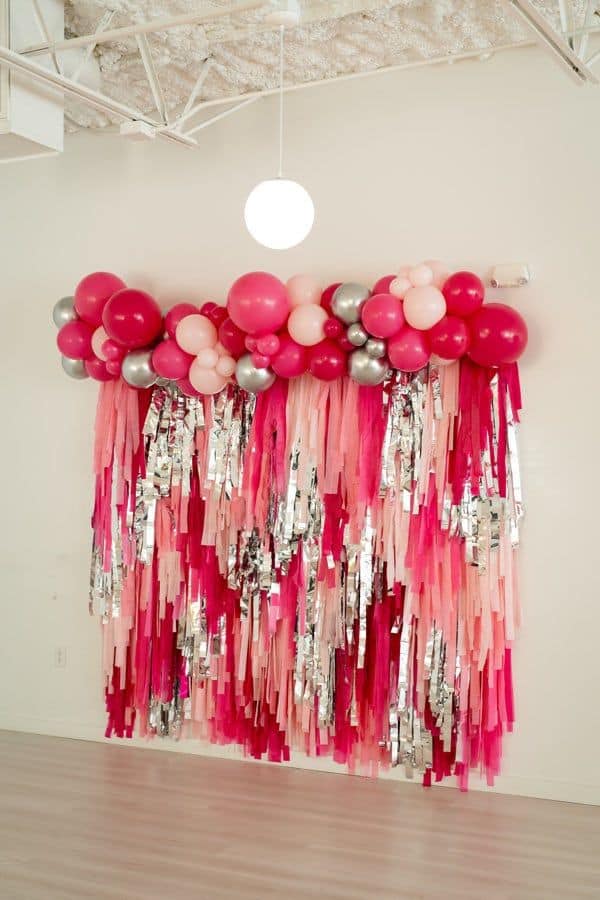
01 | BALLOON GARLANDS & STREAMING TASSELS
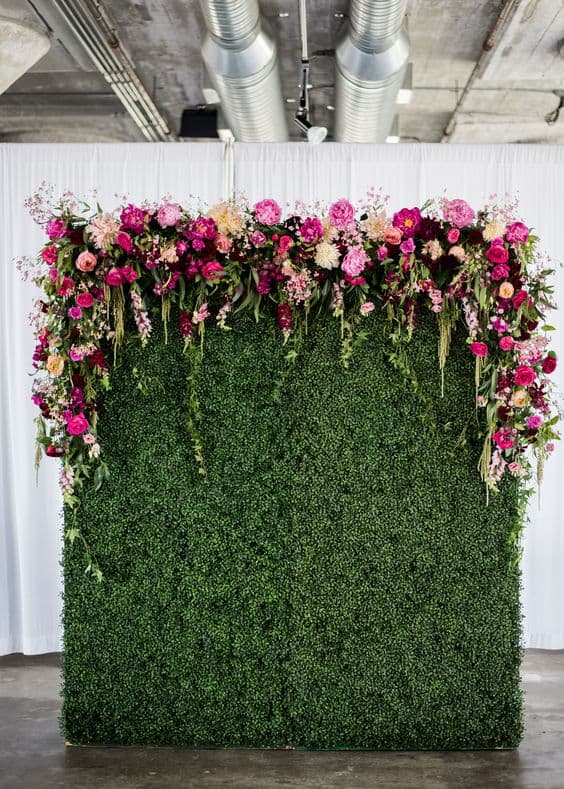
02 | GARDEN WALL
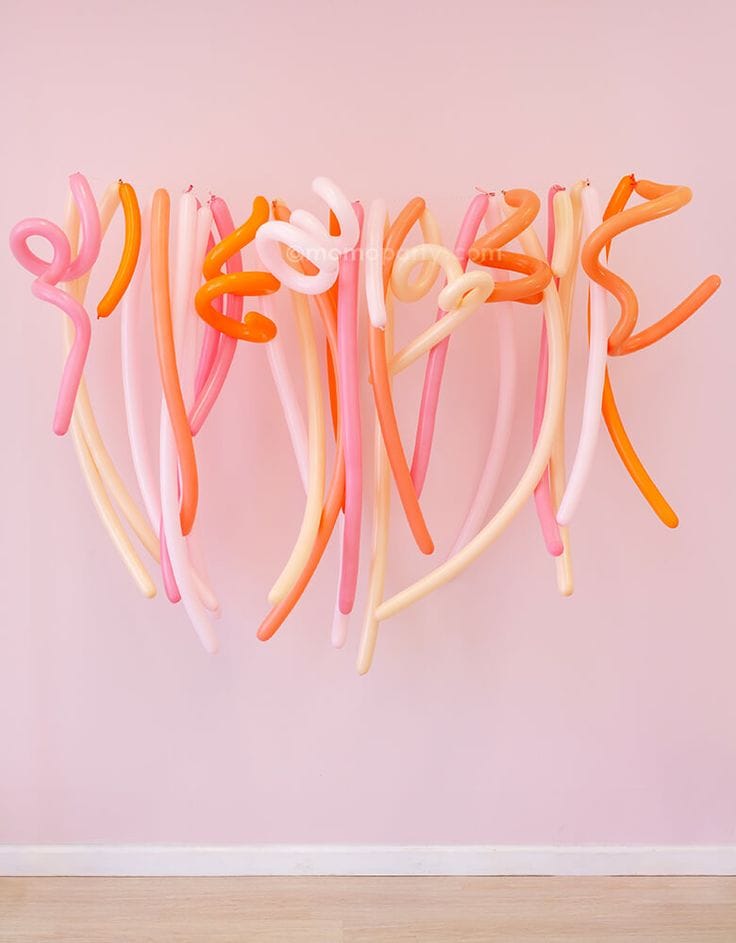
03 | TWISTED STREAMERS
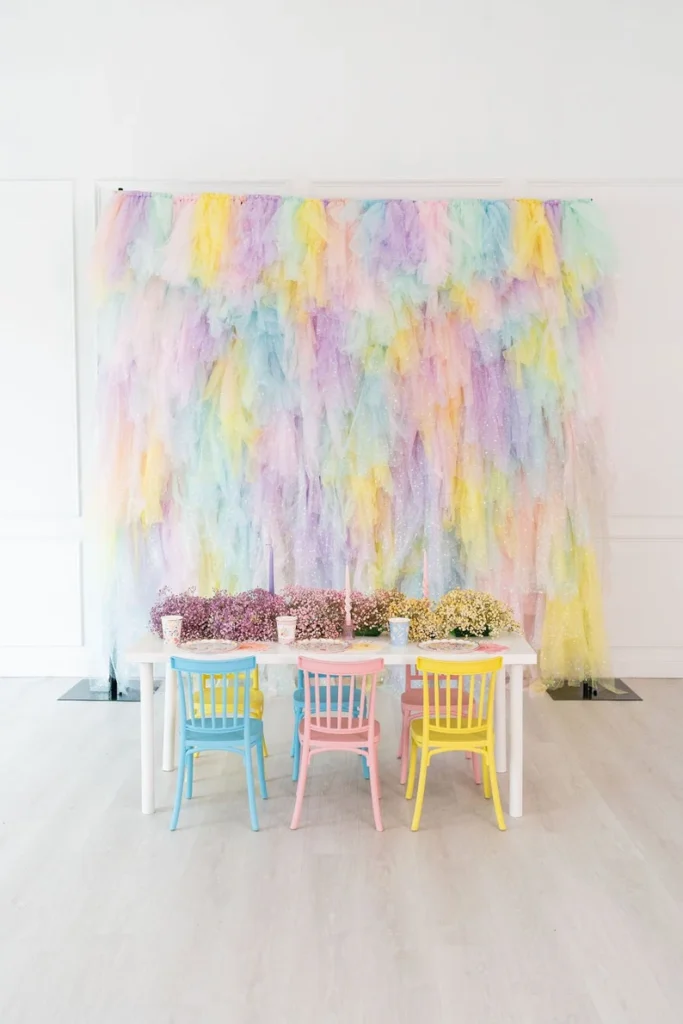
04 | PASTEL TULLE
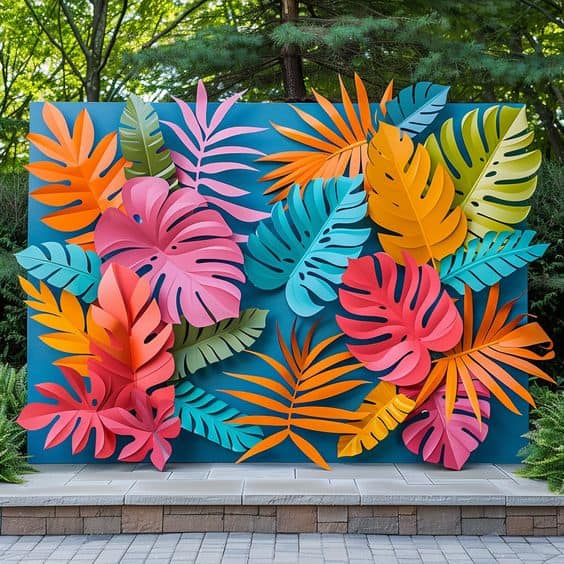
05 | GIANT TROPICAL LEAVES
06 | BALLOONS & STREAMERS
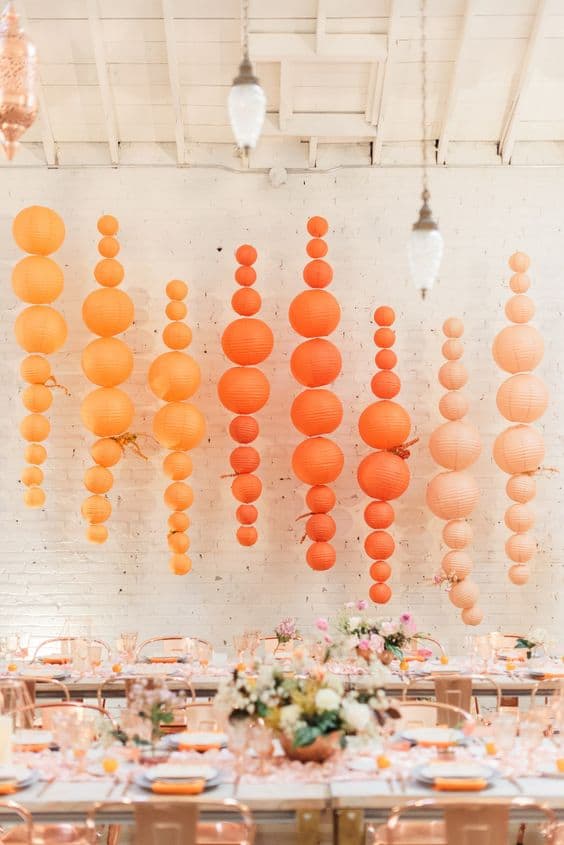
07 | PAPER LANTERNS
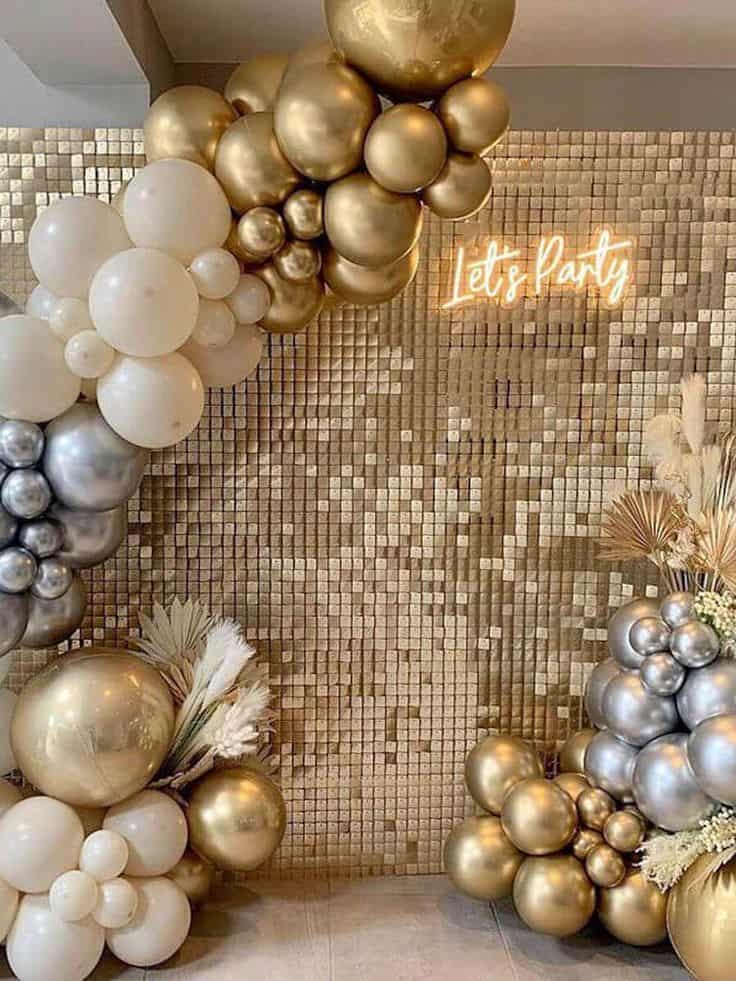
08 | SHIMMERING BACKDROP
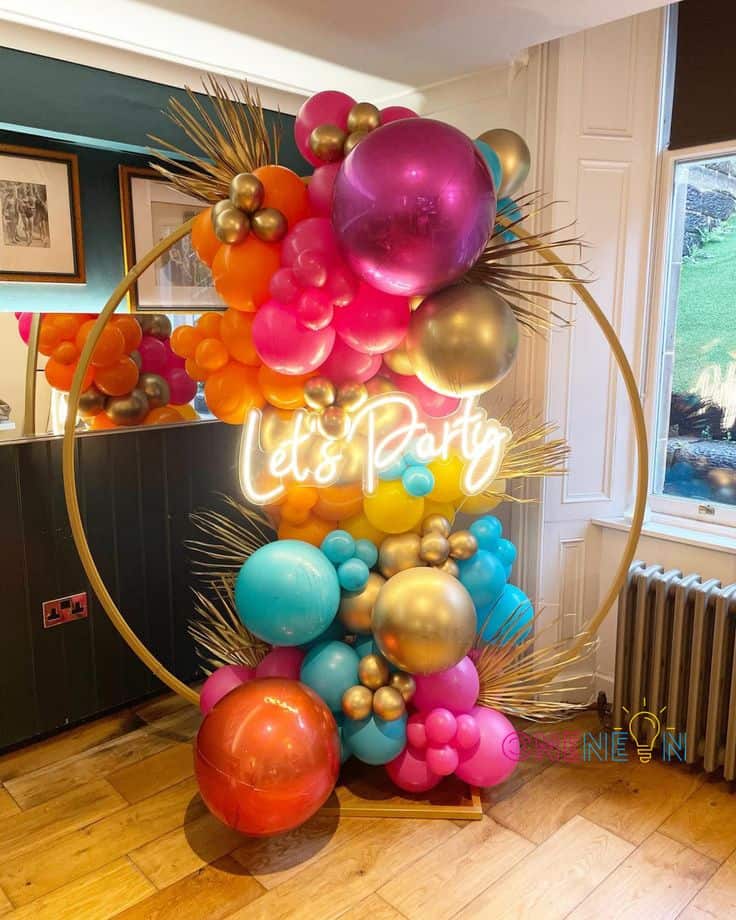
09 | LET’S PARTY HALO
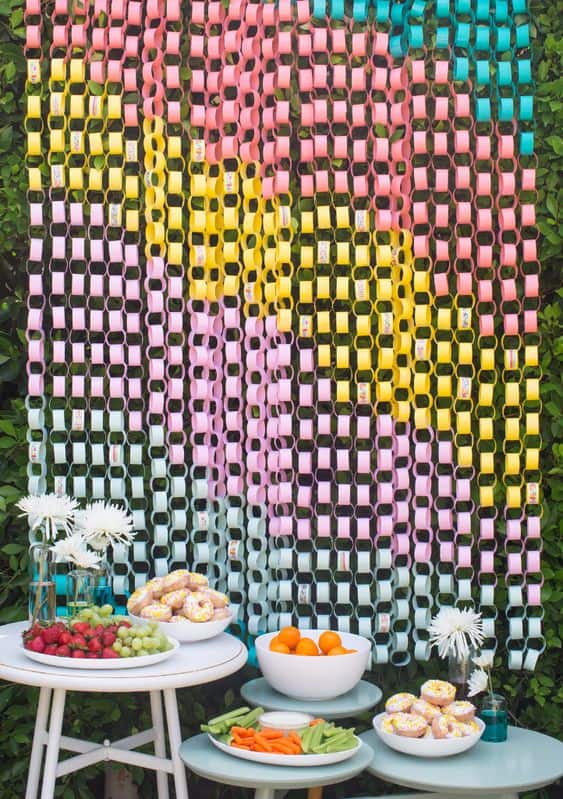
10 | PAPER CHAINS
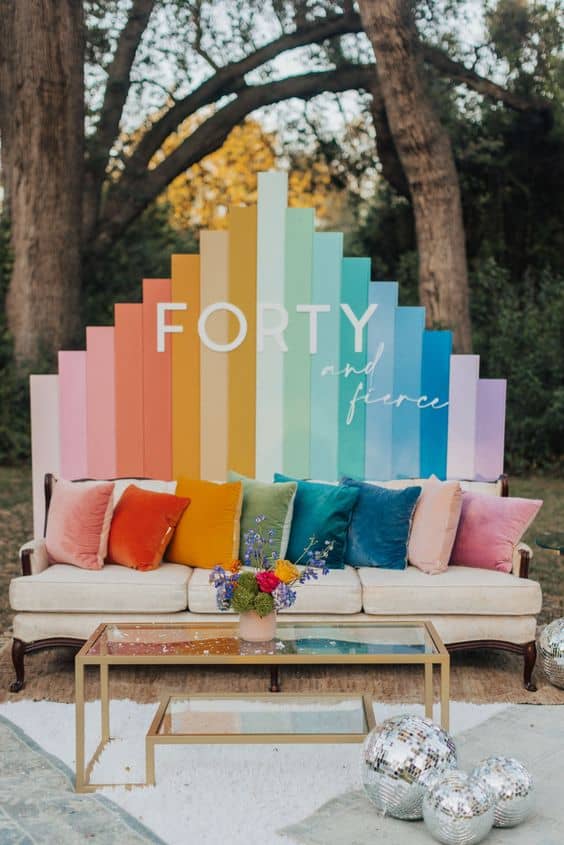
11 | ART DECO BACKDROP
12 | LONG BALLOONS
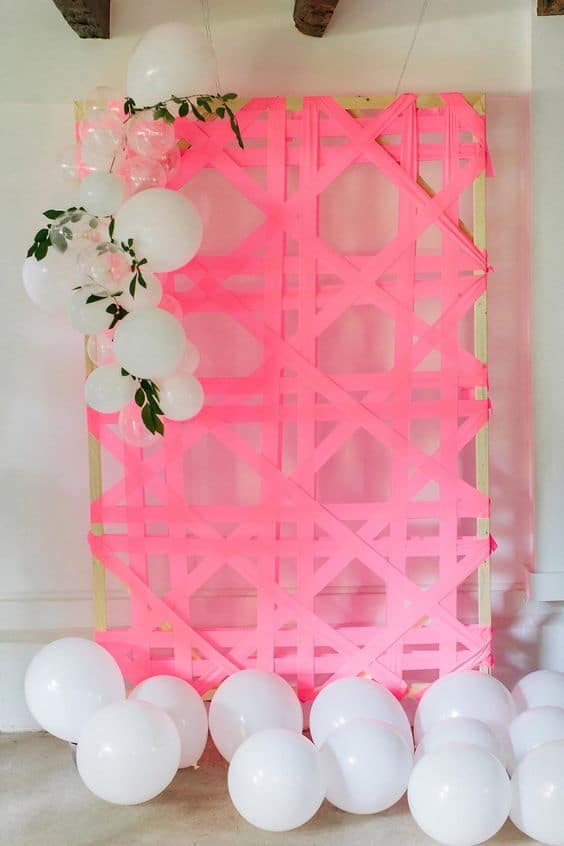
13 | RIBBON PATTERN
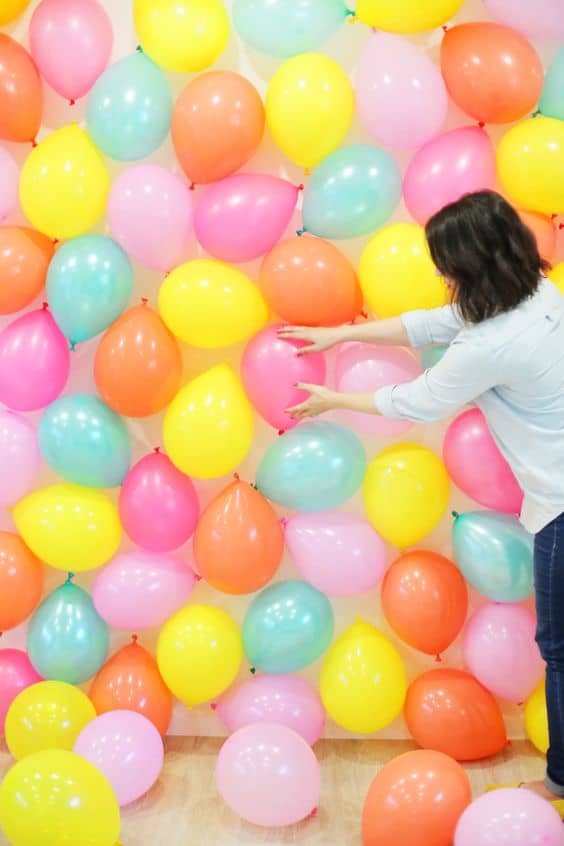
14 | BALLOON BACKDROP
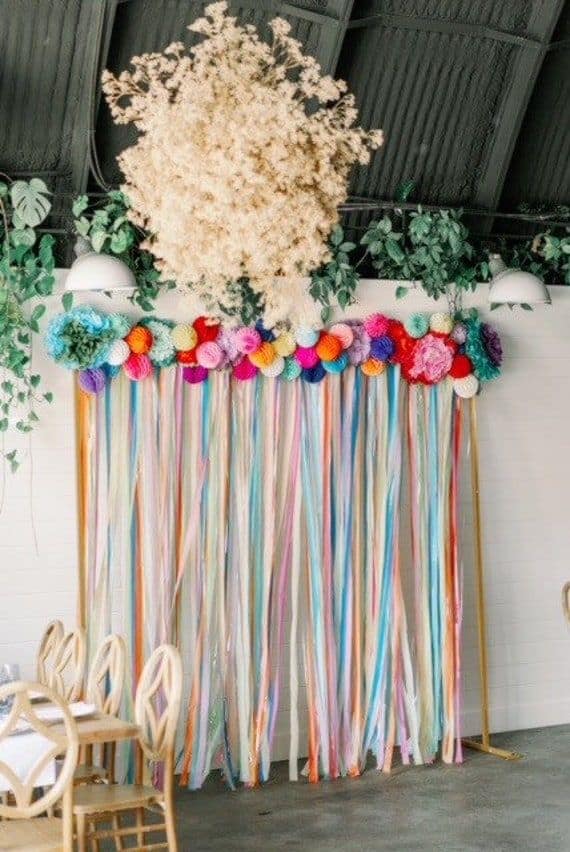
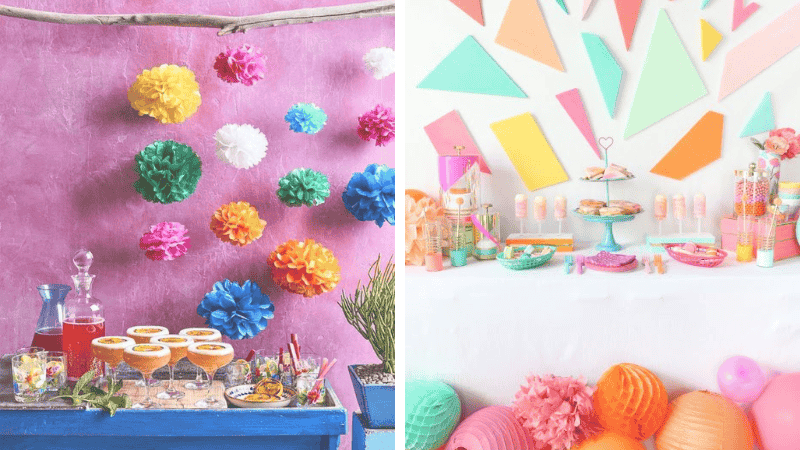
15 | TISSUE POM POMS & STREAMERS
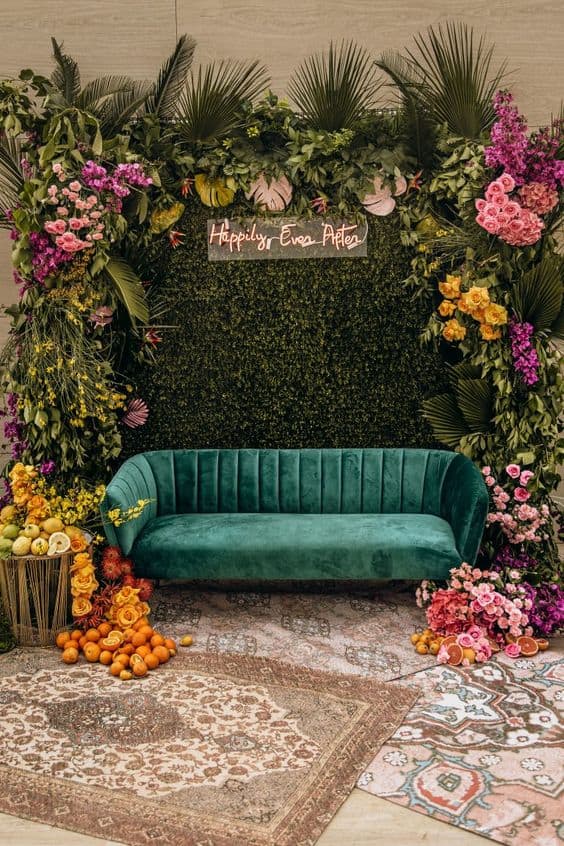
16 | LIVING TROPICAL WALL
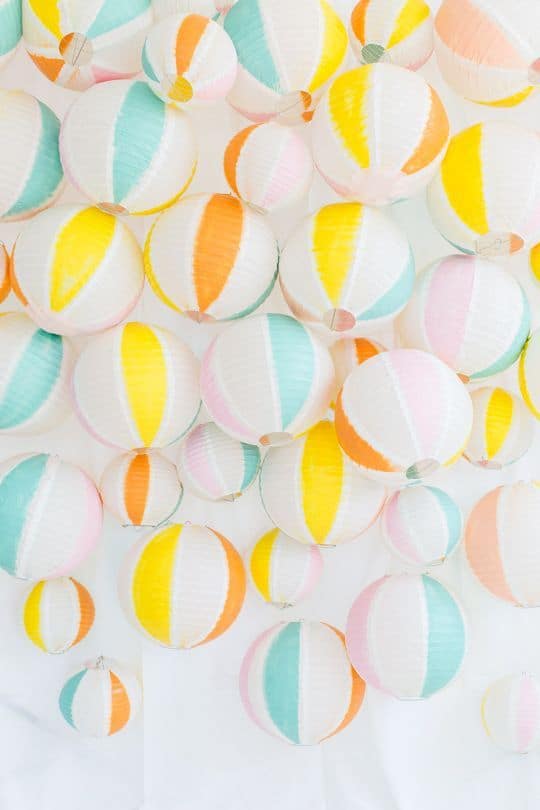
17 | BEACH BALL LANTERNS
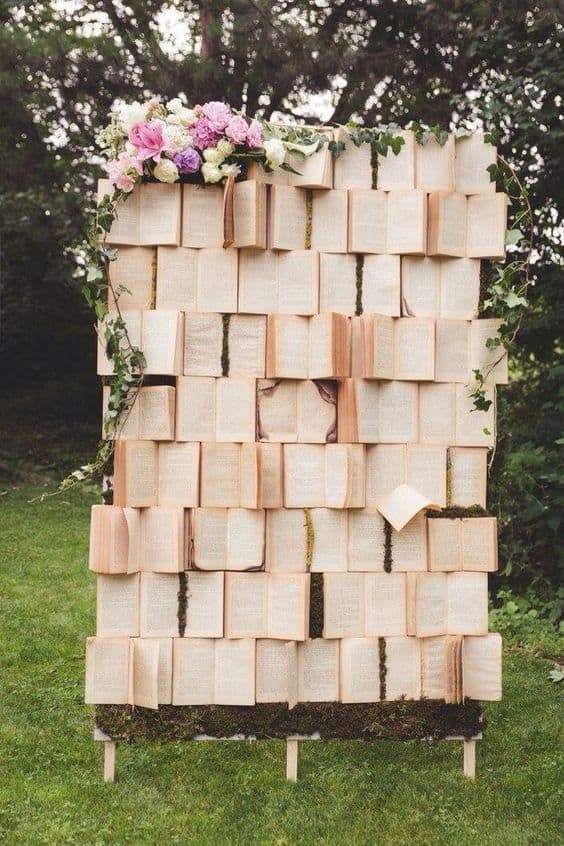
18 | BOOK WALL
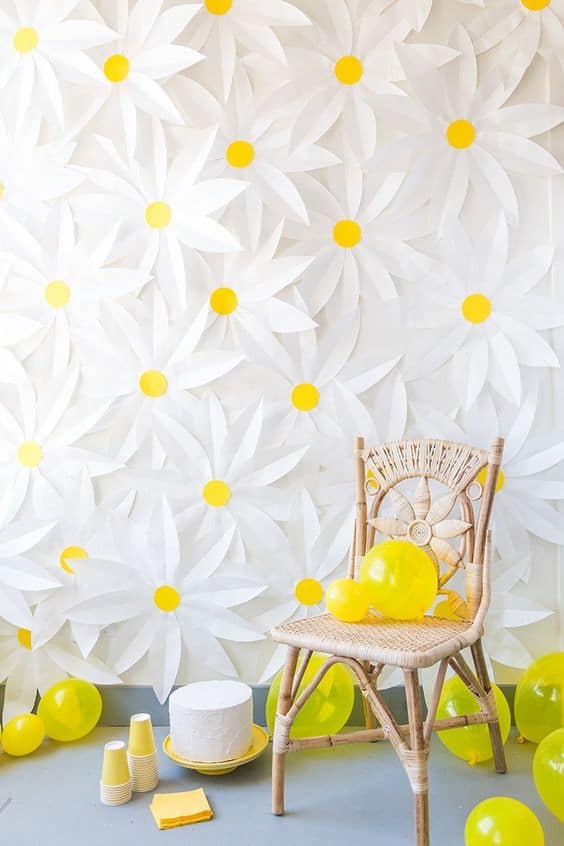
19 | SEEING DAISIES
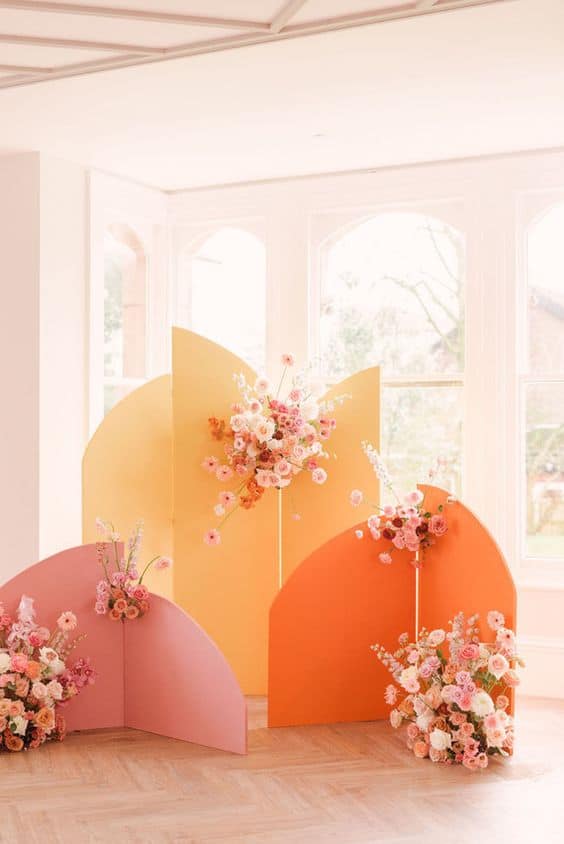
20 | ARCHED
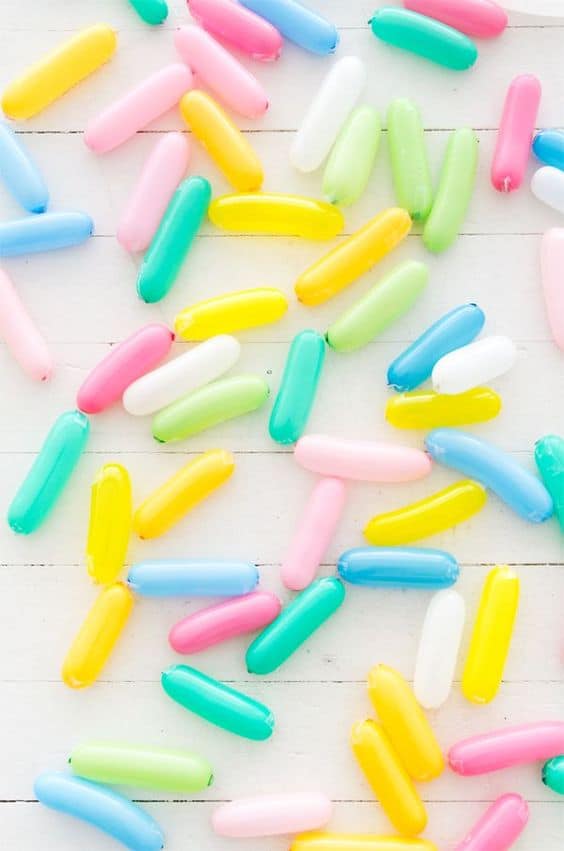
21 | GIANT BALLOON SPRINKLES
22 | FLOWER PHOTO WALL
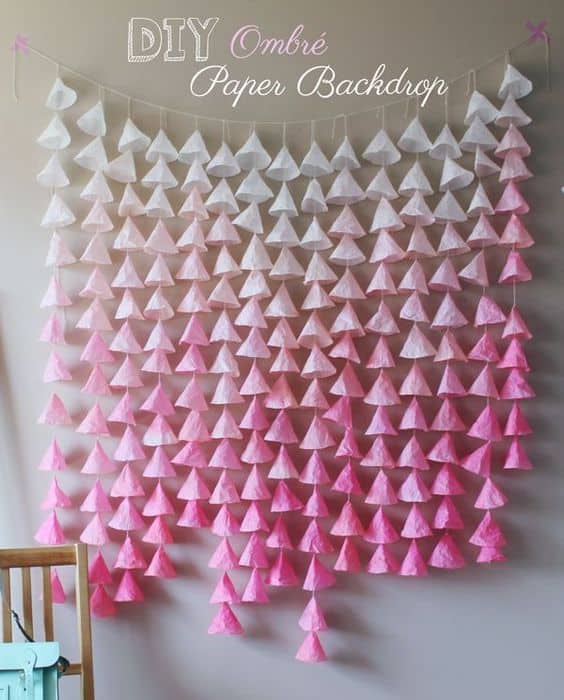
23 | OMBRE PAPER BACKDROP
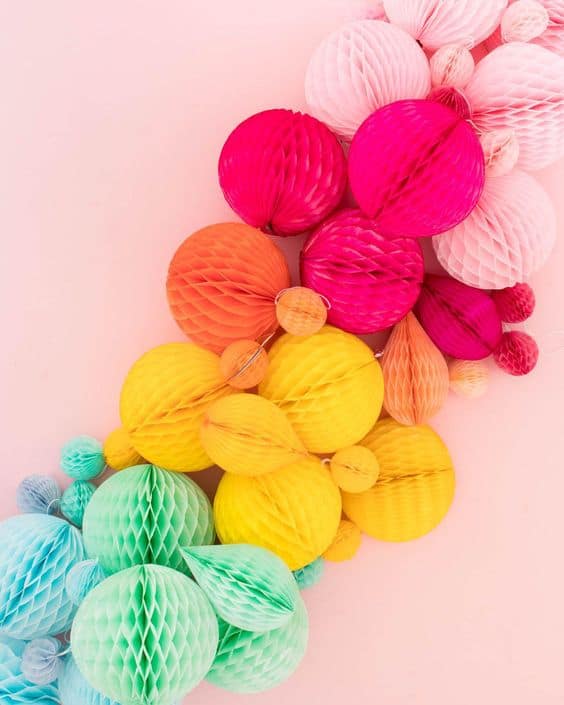
24 | RAINBOW PAPER HONEYCOMBS
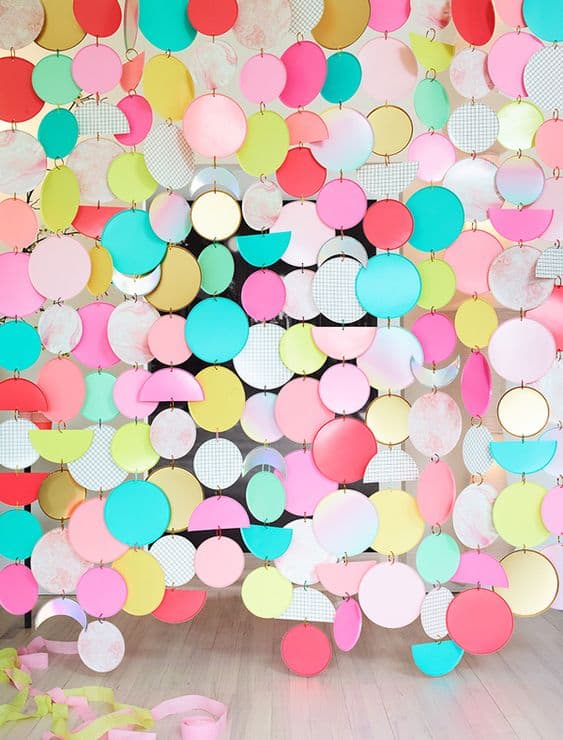
25 | COLORFUL PAPER PLATES
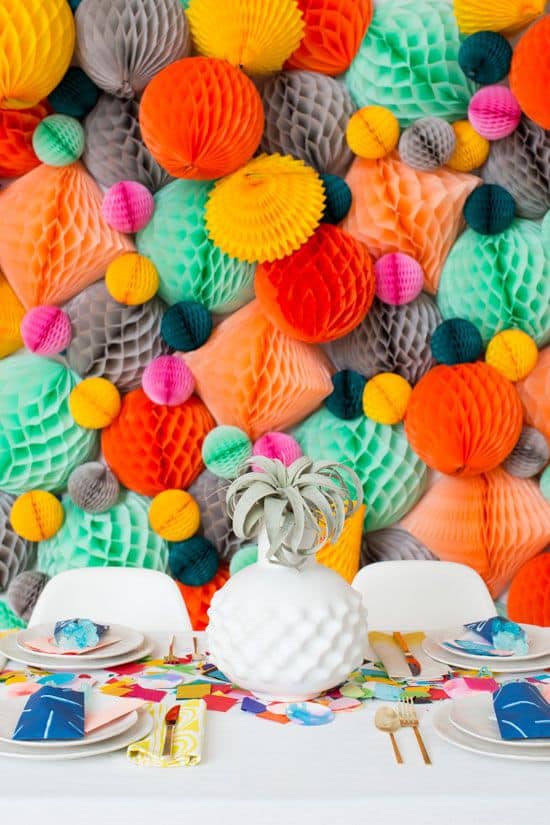
26 | MIX & MATCH PAPER HONEYCOMBS
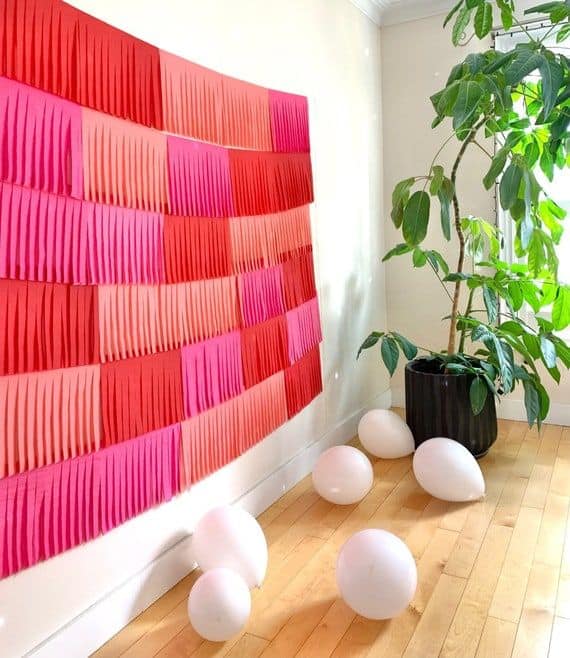
27 | STREAMER FLAGS
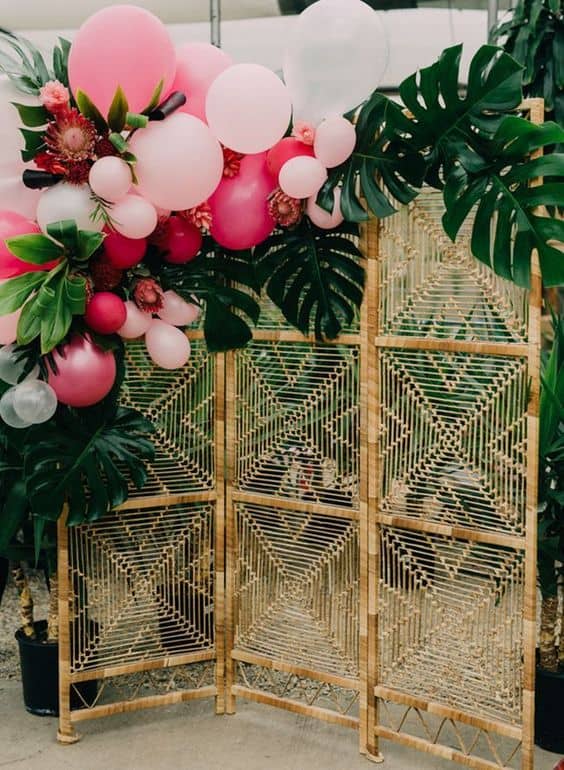
28 | TROPICAL GLAM SCREEN
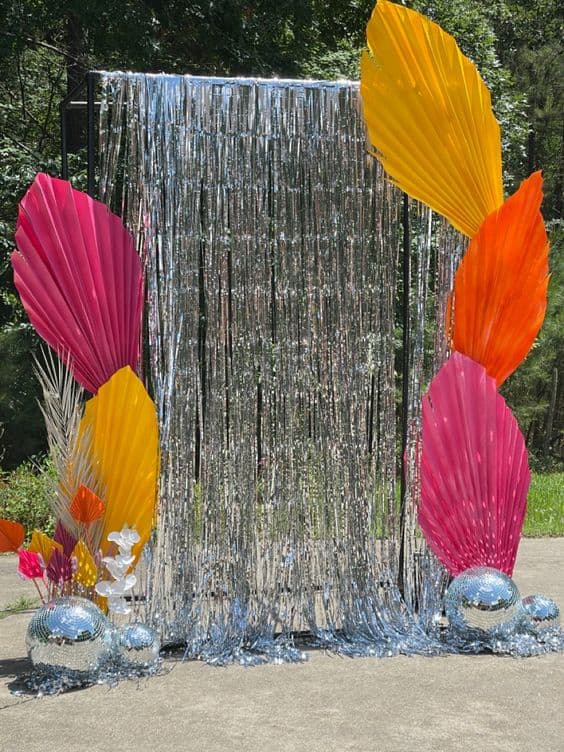
29 | TINSEL & PAPER PALM FRONDS
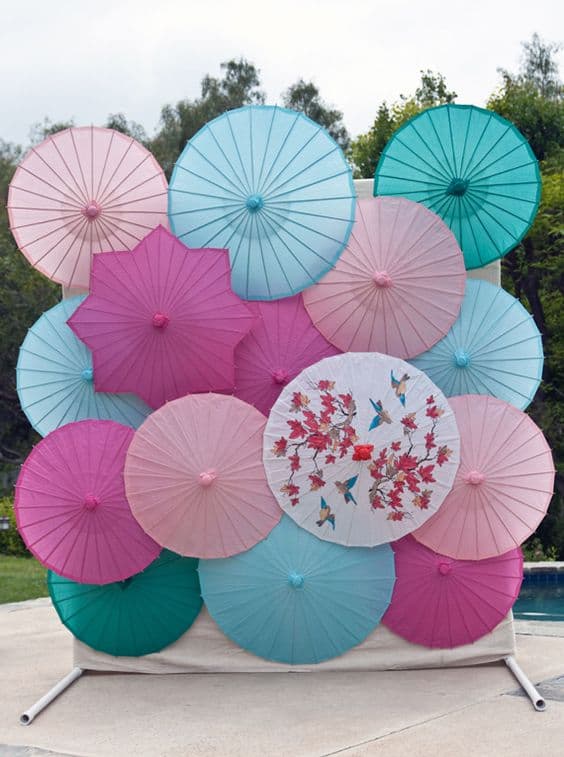
30 | UMBRELLAS
Creating your own DIY party backdrop is a fantastic way to add a personal touch to your event, save money, and have fun in the process.
With a bit of creativity and effort, you can transform any space into a magical setting that will leave your guests in awe.
Ready to get started?
Grab your materials and begin crafting the backdrop of your dreams.
Happy Celebrating!


